How Satellite Map Camera Placement Improves CCTV Planning Accuracy
When I first started designing CCTV systems for commercial clients, I used to rely on site visits and rough hand sketches. It worked, but it was slow and prone to errors. A colleague showed me a better way: using satellite imagery as a base map for planning camera positions. That shift changed how I approach every project. What follows is a practical look at satellite map camera placement and why it matters for anyone designing surveillance systems.
Why Satellite Maps Beat Traditional Site Surveys
A site survey gives you boots-on-the-ground detail, but it has limits. You cannot always see the roofline from street level. You might miss a tree that will block a camera's view in summer. And walking every corner of a large industrial site takes hours. Satellite imagery solves these problems. With a good satellite imagery provider, you get an overhead view that shows building footprints, parking lots, entry points, and potential obstructions. That is the foundation of satellite map camera placement.
I have used Google Maps, Bing Maps, and OpenStreetMap for different projects. Each has strengths. Google Maps offers high-resolution imagery in most urban areas. Bing Maps sometimes has better coverage in rural regions. OpenStreetMap is less about imagery and more about vector data, but it can be overlaid on satellite tiles for extra context. The key is to pick the right satellite imagery provider for the location you are planning.
Working with GIS Coordinates and Map Scale
Once you have your satellite image, the next step is geotagging. You need to pin every camera location to real-world GIS coordinates. This is where tools like ArcGIS or QGIS come in. I prefer QGIS for its flexibility and cost (free). You load the satellite image, set the map scale, and start placing markers. The scale matters: if your map scale is too coarse, a 50-meter offset can mean placing a camera on the wrong building. I always verify scale against known reference points, like a parking lot or a building corner.
GPS accuracy is another factor. Consumer-grade GPS can drift by several meters. When you transfer coordinates from a satellite map to a physical site, that drift can cause parallax error. Parallax error happens because satellite images are taken from an angle, not straight down. Tall buildings lean away from the camera. If you place a camera on a roof based on the image alone, you might be off by 10 or 20 feet. Correcting that requires ground control points: physical markers whose coordinates you verify on the ground. I set at least three ground control points per site before trusting the satellite layout.
Camera FOV and Map Overlay
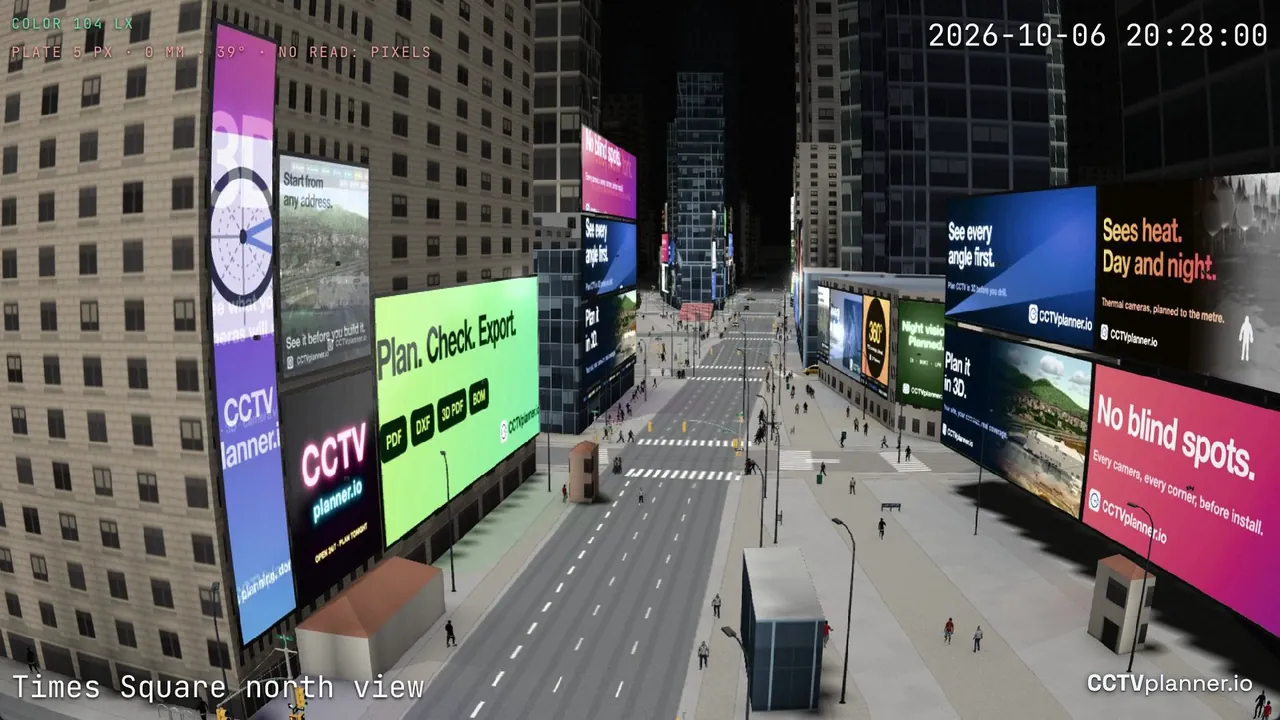
The real power of satellite map camera placement comes when you combine it with camera FOV modeling. I use a tool that lets me draw a camera's field of view directly on the satellite image. I set the lens focal length, sensor size, and mounting height. The software then projects a cone that shows exactly what that camera will see. This is not a guess. It is based on photogrammetry, the science of measuring objects from images. By overlaying the FOV on the satellite map, I can spot blind spots before I ever climb a ladder.
For example, on a recent warehouse project, the satellite map showed a row of tall shipping containers along the east wall. The client wanted a camera on that wall to cover the yard. When I drew the FOV, the containers blocked half the view. We moved the camera to a corner pole instead. Without the map overlay, we would have installed the camera and then discovered the problem during commissioning. That wastes time and money.
Choosing the Right Imagery Source
Not all satellite imagery is equal. Providers like Maxar offer very high-resolution images, sometimes under 30 centimeters per pixel. That level of detail lets you see license plates on cars and individual roof vents. But high-resolution imagery costs more and may not be available for every location. Earth observation satellites from government programs like Landsat are free but have lower resolution. For most CCTV planning, 50-centimeter to 1-meter resolution is enough. You need to see building outlines, trees, and light poles. You do not need to count bricks.
I also pay attention to resolution bandwidth. Some online map services compress their images to save bandwidth. That compression can blur fine details. For critical sites, I request raw or minimally compressed imagery from the provider. The extra clarity helps when placing cameras near property lines or in tight corners.
Practical Workflow for Satellite Map Camera Placement
Here is the workflow I follow on most projects now:
- Load high-resolution satellite imagery of the site into a GIS tool like QGIS or ArcGIS.
- Geotag the image using at least three ground control points verified on site.
- Mark all building corners, entry doors, parking areas, and potential obstructions.
- Place cameras on the map and adjust their FOV to cover the required areas.
- Export the final coordinates and a map overlay for the installation team.
This process takes about two hours for a typical retail store. Compare that to four hours of on-site measurement and sketching. The satellite method is faster and more accurate, as long as you account for parallax error and GPS accuracy.
Tools of the Trade
I have used several tools over the years. Leaflet is a lightweight JavaScript library that works well for quick web-based maps. It supports map overlay from multiple sources. For heavy-duty planning, I turn to QGIS or ArcGIS. They handle GIS coordinates, photogrammetry, and ground control points natively. Some commercial CCTV planning software now includes built-in satellite map support, which saves the step of exporting data between programs.
One thing to watch: the default imagery in some tools may not be recent. Satellite imagery can be months or years old. If a client recently built a new wing or paved a lot, the old image will mislead you. Always check the image date. If it is more than a year old, request an update from the satellite imagery provider or use a more current source like Bing Maps or Google Maps.
Common Mistakes and How to Avoid Them
I have made plenty of mistakes with satellite map camera placement. The most common is trusting the image geometry without verification. A satellite image looks flat, but the ground is not. Slopes, drainage ditches, and retaining walls all affect where a camera should go. If the site has significant elevation changes, you need a digital elevation model or a site survey to correct the map overlay.
Another mistake is ignoring the camera's mounting height. A FOV drawn on a 2D map assumes the camera is at a certain height. If you mount it 10 feet lower, the coverage changes. I always note the planned mounting height on the map and verify it during installation.

Finally, do not overlook the need for a license plate reading camera. That requires a much narrower FOV and higher resolution than a general surveillance camera. On a satellite map, you need to place that camera where vehicles will pass at a predictable angle. I use the map overlay to simulate the vehicle path and adjust the camera position until I get a clear view of the plate area.
Wrapping Up
Satellite map camera placement is not a silver bullet. It requires careful setup, good data, and a healthy respect for real-world conditions. But when done right, it saves hours of site time and prevents costly installation errors. Whether you use Google Maps, OpenStreetMap, or a dedicated tool like QGIS, the principle is the same: plan from above, verify on the ground. That combination gives you the best chance of a system that works the first time.